Building Your Own MicroAquarium
1. Obtain 75mm X 50mm (3inch X 2inch) X 1mm thick glass
slides
2. Obtain low melt hot glue and a hot glue gun, (clear silicone may also be used)
3. 1inch X 3inch microscope slides
4. Glass scribe or glass cutter
5. Small binder clips
6. Assorted rubber bands
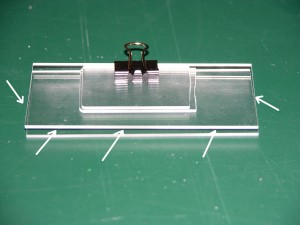
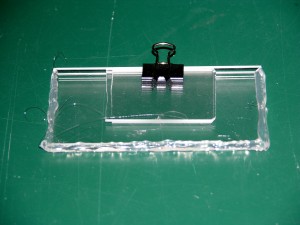
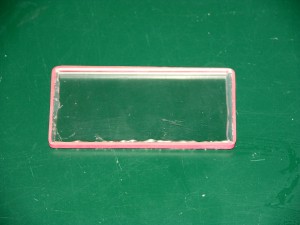
Cut a standard 1inch X 3inch microscope slide in half. Line up two 3 inch X 2 inch microscope slides using the two half microscope slides as spacers. Hold together with the small binder clip (see Figure 1). The half microscope slides when stacked act as a space to separate the 3 inch X 2 inch slides. Carefully apply hot glue or silicone to the two short sides and one long side of the 3 inch X 2 inch “sandwich, (see Figure 2). Cut away excess glue. Hold upright and fill with pond water. Wrap a suitable size rubber band around the edges to seal the microaquarium, (see Figure 3). Place on microscope stage and observe! Microaquariums are reusable and can be cleaned with “q”-tips and mild soap solutions.


[…] MicroAquarium […]